How to Trim Cat Nails at Home Without Making It a Fight
A calm beginner routine for trimming cat nails at home: paw handling, timing, tool setup, how much to trim, and when to stop.
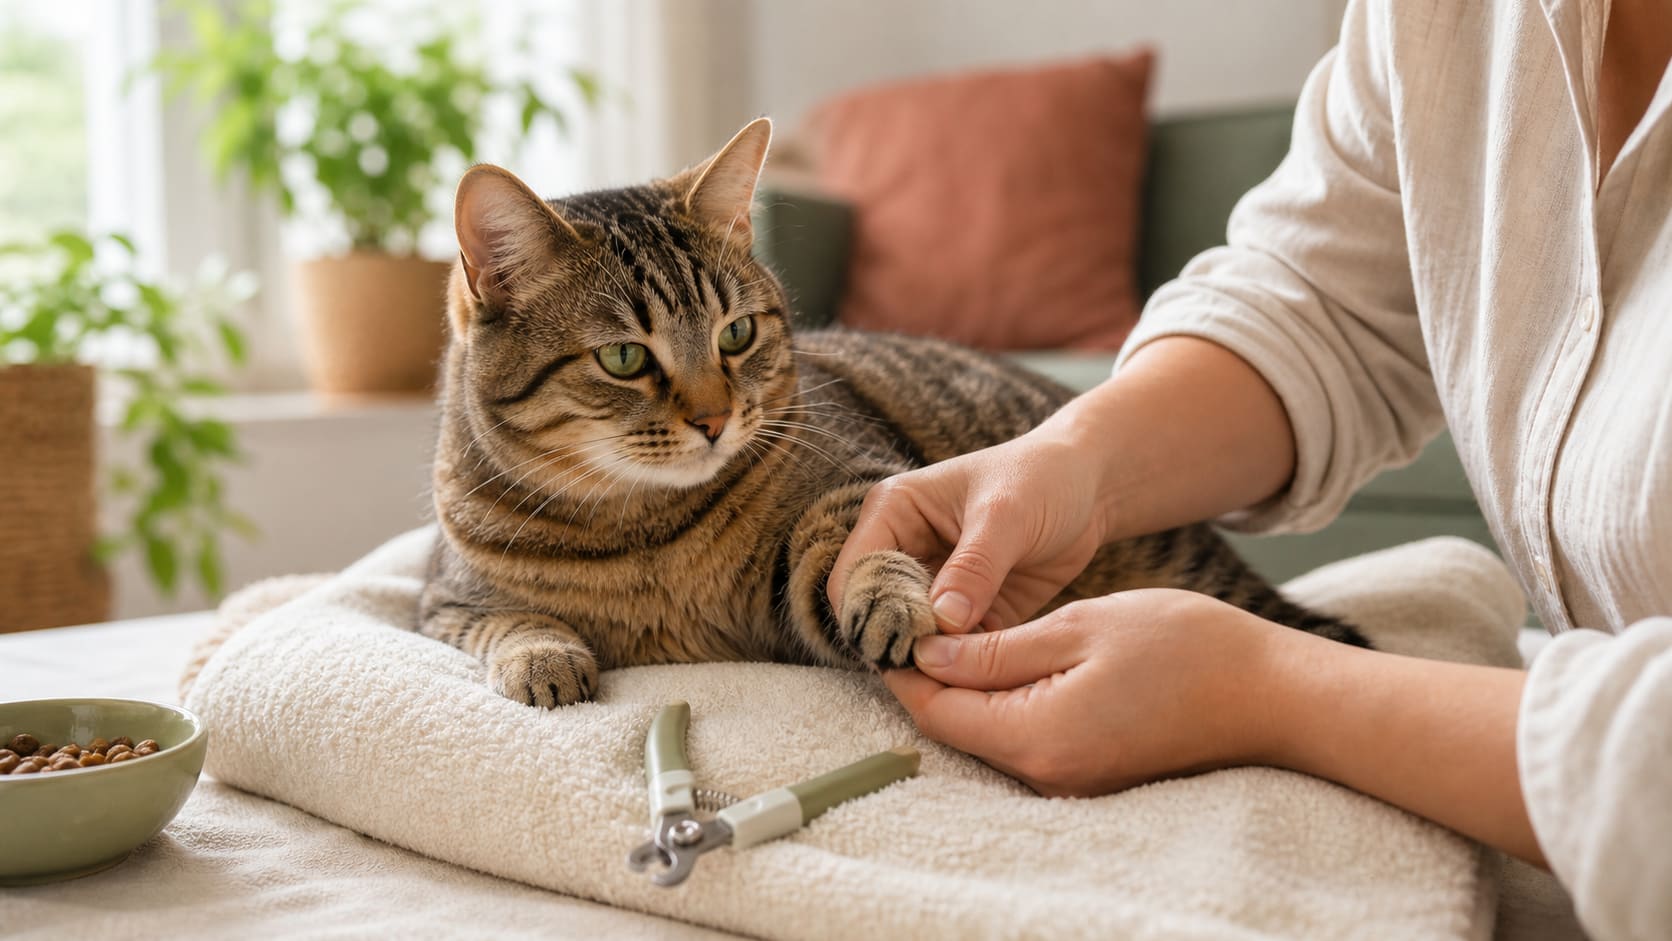
The biggest mistake people make with cat nail trims is trying to finish all the claws in one heroic session.
That is how a small grooming task becomes a wrestling match.
Cat nails do not need drama. They need timing, tiny steps, and a tool you can control. Your goal is not a perfect manicure. Your goal is taking the sharp points off before they snag fabric, dig into skin, or make scratching damage worse.
Start Before the Clippers
For two or three days, do not trim anything. Touch one paw while your cat is relaxed, give a treat, and stop. Later, gently press one toe so the claw extends, reward, and stop again.
This teaches your cat that paw handling predicts something good and ends quickly. That matters more than the tool.
Pick the Right Moment
Trim after play, after a meal, or during a sleepy window. Do not start when your cat is already wound up, hiding, or irritated. Put your supplies within reach first: treats, towel, nail tool, and good light.
If your cat leaves, let them leave. Chasing turns nail trimming into a conflict.
Clip Only the Tip
Look for the clear curved tip of the claw. The pink area inside is the quick. Cutting the quick hurts and bleeds, so stay conservative. One millimeter too little is fine. One millimeter too much is a problem.
If you cannot see the quick clearly, trim less or ask a vet or groomer to demonstrate.
Clippers or Grinder?
Clippers are fast. Grinders are gradual. Some cats tolerate one better than the other, and many beginners like having both options.
What helps: The Picky zoom 2-in-1 Nail Clippers and Grinder combines a clipper and grinder with a safety guard and LED light. Use those as control features, not as a promise that the process will be painless or stress-free. The calm part comes from your pacing.
The One-Claw Method
If your cat is skeptical, trim one claw, reward, and stop for the day. That sounds inefficient, but it works because it keeps trust intact. After a week, one claw becomes two. Then a front paw. Eventually the routine becomes ordinary.
The win is not how many claws you trim today. It is whether your cat still trusts the process tomorrow.
How Nail Care Supports Furniture Training
Trimming does not stop scratching. Scratching is normal behavior. What trimming does is reduce the sharp tip that catches and tears fabric while you redirect your cat to a proper post.
For the full redirection plan, read how to stop your cat from scratching furniture. Nail care is the support layer. Scratching posts and placement are the main fix.
When To Get Help
Use a vet or groomer if your cat panics, bites, has dark nails you cannot read, has overgrown claws, or has a medical issue affecting the paws. A good demonstration can save months of stress.
At home, keep it boring, brief, and generous with rewards. That is how nail trimming stops being a fight.
Sources
This article cites 3 sources in the text. They are linked below.
- Feline Scratching Behavior (FelineVMA)
- Scratching: Normal Feline Behavior (Cat Friendly Homes)
- General Principles of Feline Well-being (FelineVMA)
Common questions
How often should I trim my cat's nails?
Every two to three weeks is a common rhythm for many indoor cats, but it depends on growth, scratching surfaces, age, and whether claws are snagging fabric.
How much of a cat nail should I trim?
Only the sharp translucent tip. Avoid the pink quick. If you cannot clearly see where to cut, trim less or ask a vet or groomer to show you.
What if my cat hates nail trims?
Stop before the cat panics. Build paw handling separately, trim one claw at a time, reward heavily, and use a groomer or vet if the process becomes unsafe.
The Cat Behavior Decoder
A free PDF with the body language cues and behavior patterns worth noticing first.
No spam. Unsubscribe anytime. We respect your inbox.